Forging a bowl adze blade |
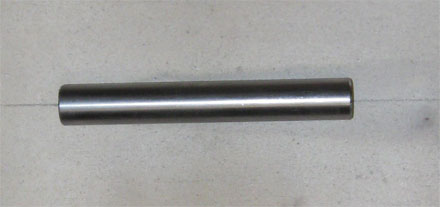 |
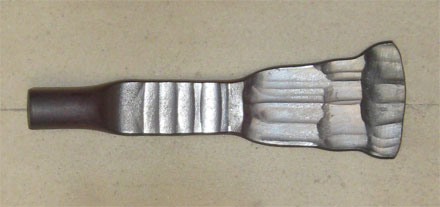
I start with a 6 inch piece of 7/8 inch diameter high carbon steel. This is for the
light bowl adze blade. For the heavy one I start with 6 inches of 1 inch. |
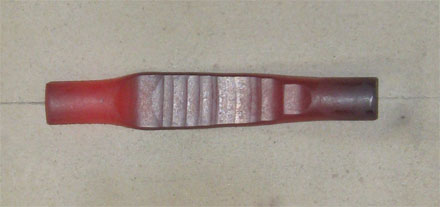 |
The shoulder is forged in first. This is where the fishtail of the blade will be at it's narrowest and so needs the
least material. The taper toward the edge (the end to the right) is also begun. |
 |
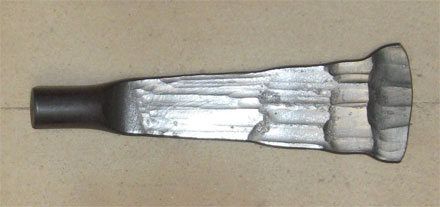
I try to get the taper even, that way the fishtail will end up to be a nice gradual taper. The full thickness
of the steel is left on the end that will be the edge (to the right) because it will end up being the widest part of the blade. |
 |
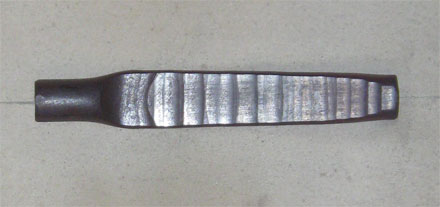
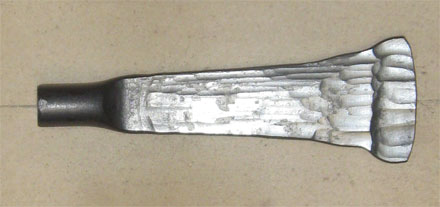
Widthwise spreading starts at the edge... |
 |
...and progreses up the blade a little at a time. |
 |
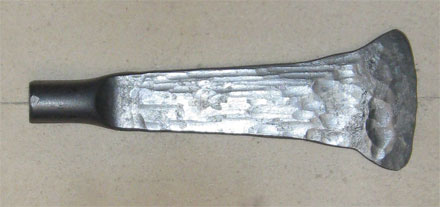
Although asthetics are secondary to ultimate tool function, I try to keep the blade as symetrical as I can. |
 |
The blade will end up with not only the fishtail taper but also having a gradual taper in thickness from the shoulder (thickest) to
the edge (where it is widest but thinnest). |
 |
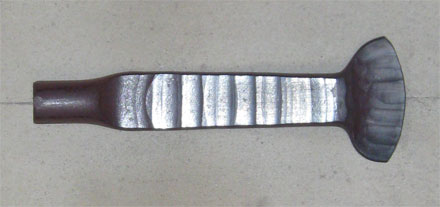
Many of the steps are not shown here. This is one of the many straightening/flattening heats - just
a little refining to help keep everything right - it is actually quite important to keep on top of the 'little' things
during the whole process. |
 |
A bit of flattening and we're almost there. The blade is finished quite flat at this stage. the cupping will
be shaped just befor it is heat treated |